I walked into the studio last weekend and discovered this wooden box near the front door. Hmm, what could that be?
The peeping sound gave a hint, but I didn't expect to see these pretties. It turns out that they are bantam chickens, which are small chickens that are generally very hardy. Richard decided to add a few to our flock because they are good setters.
Should we decide to put some eggs to setting, the bantams will gladly take over a nest and do the lazy work. They are quite docile unless the biddies are threatened. Yes, I'm afraid of mother hens, so I probably won't mess with these any time soon.
After Richard bought the bantams, Marley decided that she had to have some chickens, so Adam bought six. Buying chickens means buying a flock so that they have a better chance of surviving. He bought three whites and three reds so Marley could tell them apart. She hasn't named them, yet, but she did agree to put the biddies in the box with the bantams. Her mom was grateful for that!
See the egg in the lower right corner? Her poppa told her that the biddies left two eggs in the brooder just for her. At four, she believes every word that comes out of his mouth, and having her name on the egg makes the thought even more true. The magic!
What fun we had over the weekend. Some of the other grandkids came for supper Saturday night and the poor chicks were inundated with love.
I am very certain that the biddies were happy to see a couple of vehicles drive away.
At 15, Dusti's goal is to fill Snapchat with "selfies." She must have taken 50 photos with one biddy after another. A selfie is taking pictures of oneself with a front-facing smartphone to post on social networking websites, usually while making strange, contorted (often ugly) faces.
I got a shot of Dusti taking a selfie, and when I mentioned it, her mother noted that taking a picture of her almost must happen while she is taking a selfie. Nh, uhn! Not true!
Mostly we enjoyed having part of the crew over for a meal and some fun, even if the poor chickies are a little worse for wear. But, then again, feathers do grow back out.
Have a great week,
Mary
Monday, March 31, 2014
Sunday, March 30, 2014
Sunday Quilt Inspiration: S P R I N G
I've been enjoying the spring time beauty for the last few days....well, when it's not flooding, that is. Let's have some fun matching spring beauty with a few quilt beauties. Ready, go!
How is that for inspiration?
Happy Quilting,
Mary
Saturday, March 29, 2014
Button Delivery
Earlier in the week an aunt, who lives in Mobile, sent me a note through FaceBook. She had something to send me she wrote. Hmm, okay. This morning a small package arrived filled to the brim with some very pretty metallic buttons.
Sweet! Thank you, Aunt!
I have a feeling that these are somewhat vintage buttons that were recycled from clothing....a very common practice (back in the day) that, I am happy to say, has come back in vogue. Since my aunt's note said that she found them in her studio and because some look older than others, I'll assume that they were gathered over time.
Aren't they pretty? I gladly sorted them and added them to my stash of buttons. While I was doing that, I thought I'd share my system for storing small objects, such as buttons, needles, zippers, and so on.
Buttons have their own system because I have quite a few of them. I purchased several of these containers that have separators so that I can put each set of buttons in one space. I ended up sorting the buttons by color, then by sets. Because I've run out of separators, I've had to put two sets in the same compartment, so I put two very different sets: large buttons and small buttons that don't match could go in the same space. This way just a look will tell me how many I have of a set.
I have eight containers divided into whites, darks, golds, silvers, browns, pastels, and brights. I acquired a book of button samples several years ago and removed the buttons from the pages to put them into this system. As a result I have a container of whites that are in sets and one of whites that have no match.
When Richard built my work table, he added a shelf underneath. It makes a great space for this kind of storage: out of the way but close enough to reach when I'm working. To the left of the buttons are a couple of different covered containers that hold zippers. To the right of the buttons are two yellow drawer systems where I've stored all sorts of sewing tools: glue sticks, hand and machine needles, safety pins, straight pins, velcro, and so on. The drawers are labeled and on top of the system I've added a few containers with larger items: zipper on a roll, clasps, light bulbs, etc.
On the other side of the table, I have some large plastic containers with UFO's, unusual fabrics, and just odd things. The system works for me because I have small objects that I use often close to my usual work area and odd things where I can find them without having to go very far. Of course, fabrics and less often used items like rick rack, laces and thread are in the closet close by.
Happy organizing. Here's hoping you have sweet aunt who is cleaning out her studio.
Mary
Thursday, March 27, 2014
Spring Asparagus
I haven't added a new recipe in a long time since I rarely cook these days. Since Richard had neck surgery in December, he is home much more than I am, and he's taken over most of the duties, including cooking.
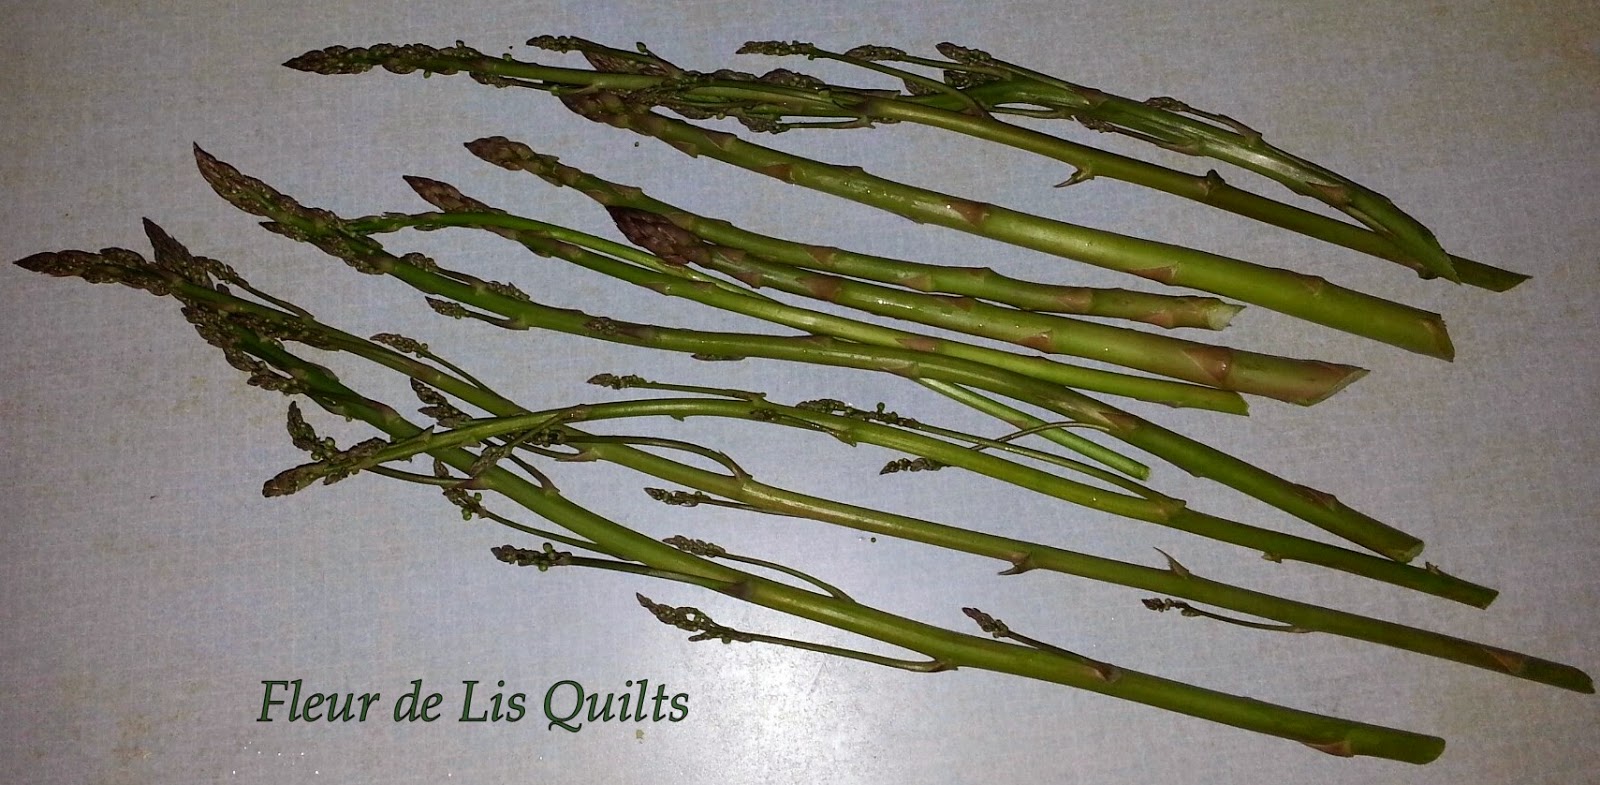
However, yesterday when I got home I thought about checking on my asparagus. I should have thought about them sooner: some of the shoots were a bit overgrown and woody. I cut everything out-- perfect or chewy--and brought it in to wash and cook. Here's my version of asparagus soup using every piece of some pretty tough asparagus.
Creme of Asparagus Soup
Chop all the woody pieces into 1/2 inches and toss into a medium-sized saucepan with two cups of chicken broth mixed with a cup of water and put to boiling. After 45 minutes of slow boiling, put the stock in the food processor and pulse a few seconds, then strain squeezing the shreds as much as possible. Simmer the broth and one can of condensed milk for 10 minutes. Mix a teaspoon of corn starch with 1/4 cup water until well dissolved and slowly add to broth. Chop the rest of asparagus into 1/2 to 1 inch pieces and add to soup. Simmer for 10-15 minutes until asparagus is crisp tender. Add sea salt to taste and serve hot.
Mary
Wednesday, March 26, 2014
Pin It Wednesday #58
It's time to get back to my blogging routine. I lost my computer charger and now that we've spent $50+ to replace it, I'm back in business. Believe me, I could kick myself for that loss, but it's time to move on.
That said, I thought you might enjoy seeing some of the darling little art quilts I found just before "the big loss."
This one is especially unusual. You have to really look at it to see that the hibiscus in the center actually extends out to the edges of the quilt, even past the first frame or two. How unusual and artistic is that?
Most of these seem to be smaller quilts, but it's difficult to tell the size exactly. That's one of the problems with Pinterest. Well, that and the missing or broken links. I can't believe that I was so gun-shy when I first discovered Pinterest and now I have couple of boards with 1000+ pins! I suppose I got over my trepidation. Go by and visit my "heart, quilts" board and take a look.
And if you'd like to see even more pins of fine art paintings, visit my "fine art, masterpiece" board.
Happy Pinning,
Mary
Subscribe to:
Posts (Atom)