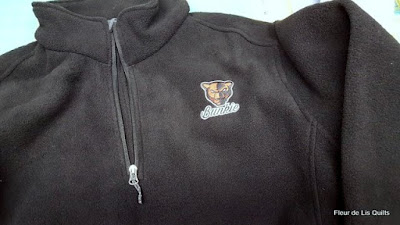
A co-worker bought a sweatshirt from one of the sport teams at school but the sleeves were much too long. It was easy to figure out how much to cut off, but once we did, I realized I didn't have any pins to hold it in place.
Paperclip to the rescue. It worked well until I wanted to remove it. I had to open it up and hold the sharp edges away from the fabric.
That stitch looks a little like this. The seam begins on the left, takes two straight stitches, then one back-stitch just barely off to the side, then a fourth stitch that brings the needle back to the center. It's the back-stitch that allows the thread to move with the stretch of the fabric.
The end result of the alteration is a neat sleeve that is the same size as the original. That was important because I had to cut off about four inches which left the cut edge very wide. I didn't really want to alter the arm seam because I was afraid it would make the sleeve wonky and uncomfortable.
The picture shows the new sleeve on the left and the old sleeve on the right. Notice that they are almost the same width but the new sleeve has some shape from the elastic.
My friend was satisfied with the alterations, and I figured out how to make some odd improvements while keeping comfort in mind. Since she will be wearing this sweatshirt at work, which can be stressful, it seems extra important that it be comfortable.
And another Bunkie New Tech High School fan will be cozy and comfy when the cold weather hits in a few days.
Since this is a finish, I'm linking up with
(who shared two cute finishes of her own)


