Tuesday, September 29, 2020
Happenings and door hangers
Monday, September 14, 2020
Griffins Antiques and Main Street Market
I may have mentioned that I've decided to join lots of friends in a new adventure. There's an old antique store in Bunkie and a young family has purchased the building to turn into an artists/crafts market. I bought the smallest size available and will attempt to sell some of my work. I'm committed to four months of rent, so that means through Christmas. Hopefully, sales will pay the rent.
So what will I be selling? Well, I've decided to put out the cotton and magnolia paintings, perhaps a few of the stitched art pieces and some scriptural quotes. The newest pieces are the quotes. (I've been calling them simply "the quotes.") They started out as a fun, fast way to get some painting in. Quite by accident, actually. I went out to meet Rich in the shed, saw some scrap pieces of wood and picked them out.
A little sanding and a good cleaning, and they made for fast canvas. At the time I had no idea what to do with them, but hey, that's how I roll. After painting sunsets/sunrises on them, I decided to add quotes. (Thus far no costs since everything was left over from other projects. Huge selling point, BTW.) When I ran out of pieces of scrap, I mentioned it and ask my guy to put some pieces aside as they arrived. I meant arrived naturally, as discards from his projects.
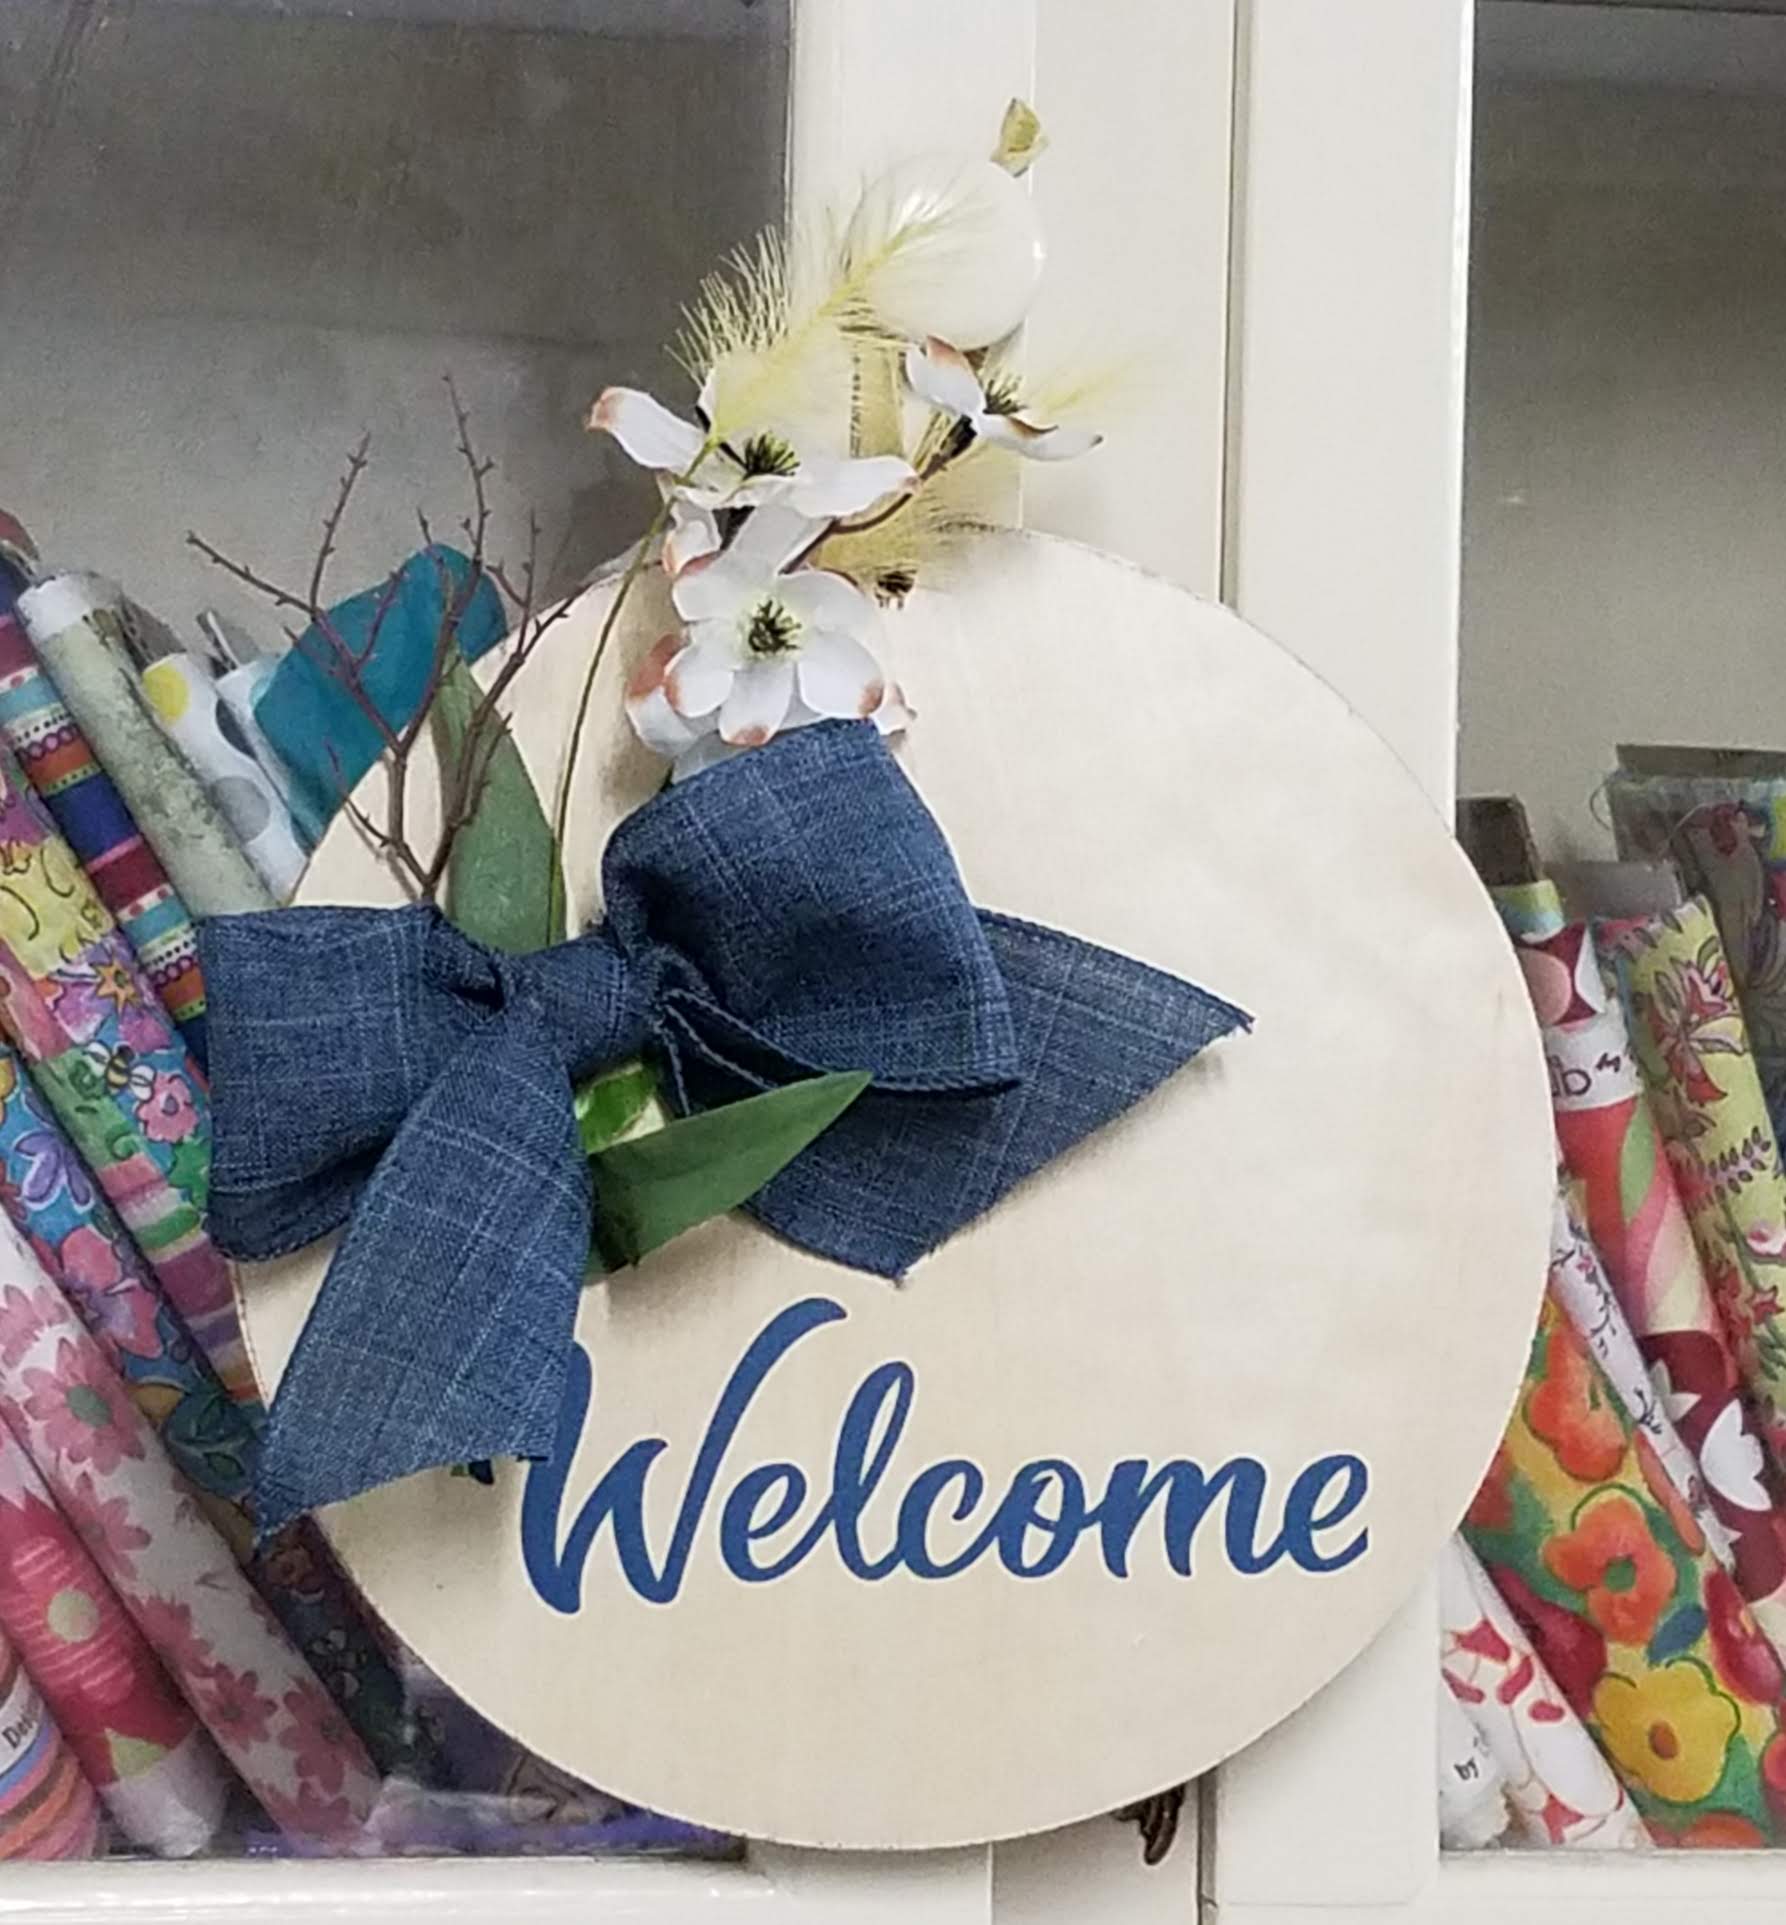
He bought me a sheet of plywood. The good plywood (as opposed to MDF or cheap plywood.) Hmm, that's eating into my no cost budget!So for a while now, I've been having great fun painting, searching for quotes, and relearning the Silhouette machine. Those are the quote pieces that I mentioned. I'll take pictures of the booth when it's all set up. I probably have about ten quotes and a couple of door hangers/welcome signs. I've also picked out about 10 or so lap/baby quilts that I will drape over a quilt rack. I really hope those sell, but who knows what people are looking for? Wish me luck!Friday, May 8, 2020
Magnolia II ~~ art quilt finish
Several people have asked me how I create these since it's an odd way to paint. So here's the short version. Start with a subject that can be isolated easily, so it almost has to be a physical object. Create a background using fabric (scraps work nicely). I think of it as making a quilt top.
After loading the quilt sandwich onto the longarm, I plan and prep the painting area with gesso. Because you aren't painting the entire panel, plan carefully. I pencil in and quilt the outline of the subject.
Now we're ready to move on to painting. I alternate between painting and quilting. I've discovered that one informs the other, and I tend to work improvisationally.
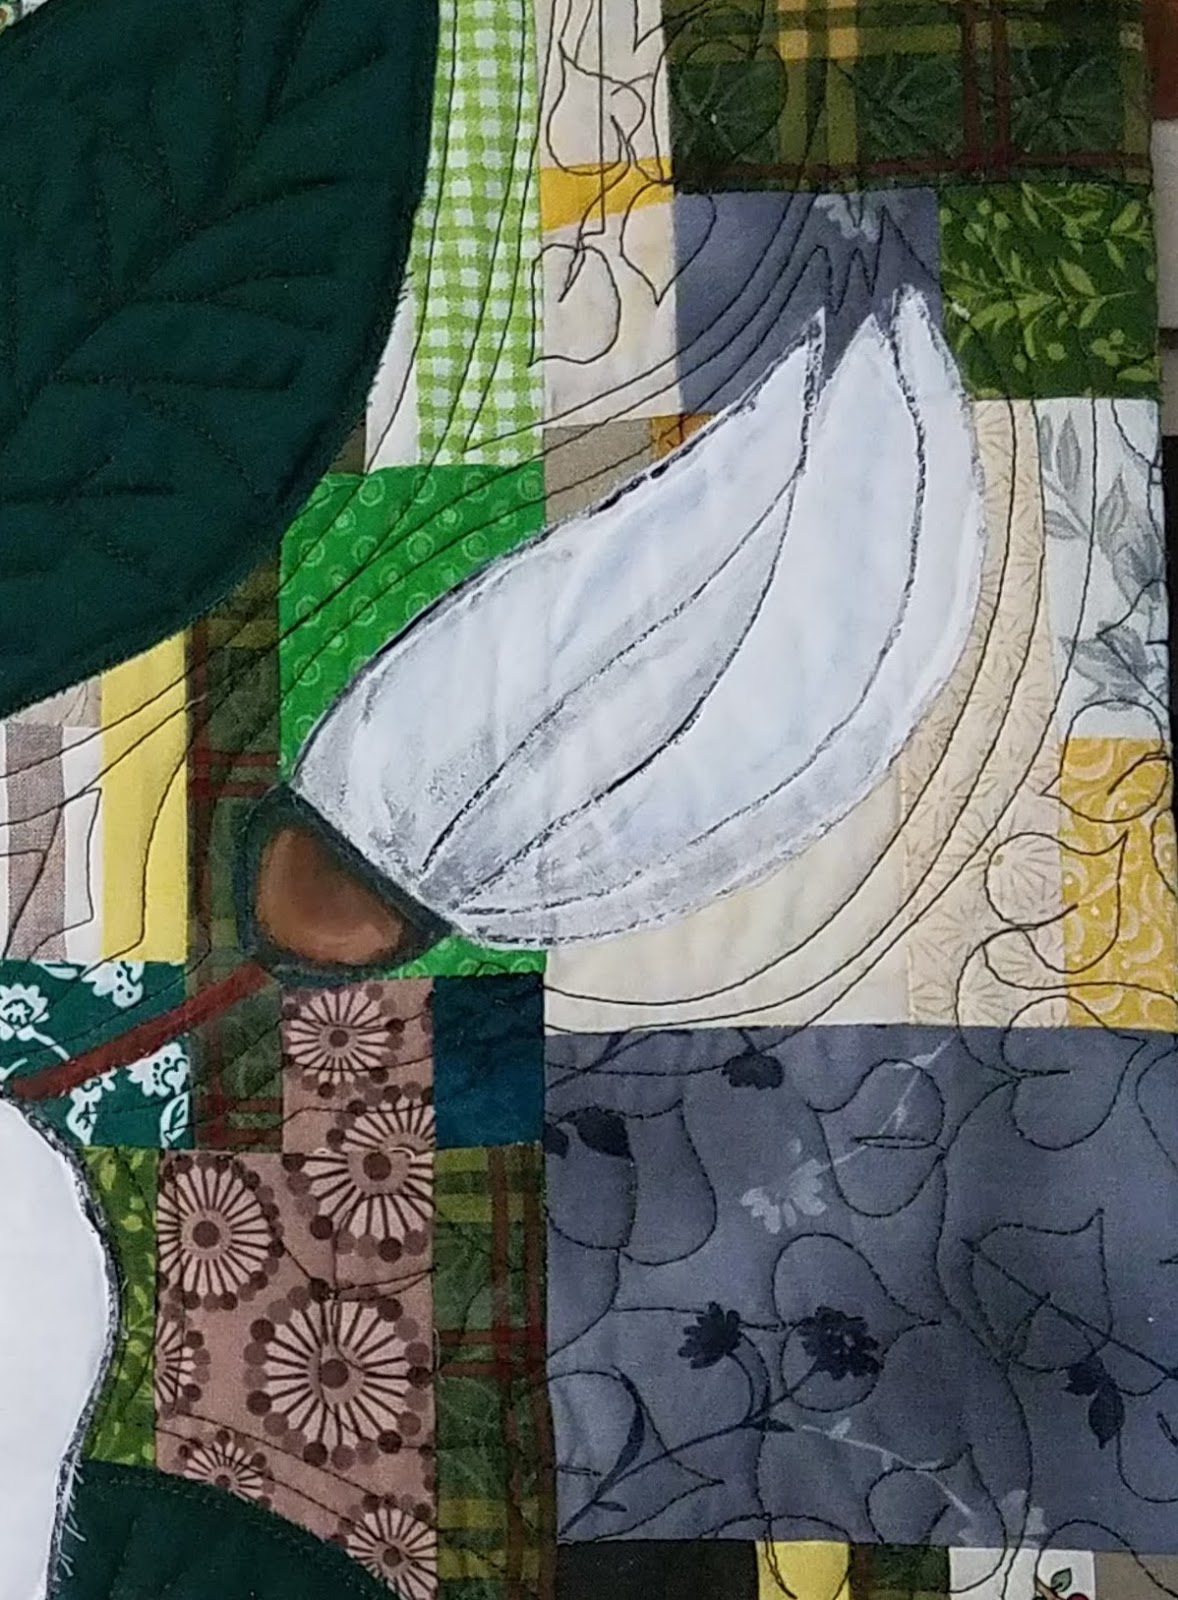
An example of that improvisational work is this bud in the upper right corner. I decided to include it as I was painting the large magnolia and wanted it to be a secondary element, almost not noticeable. While I was working on it, I realized that the green stem receded into the background, so I repainted it in lighter browns that contrast more with the greens, yellows and browns of the background.
And just like that, weeks later there's a painting ready for framing. Richard is wonderful about making frames, so as soon as trim and measure the work, he builds a frame--to 1/16 of an inch. (As if I'm going to manage that math!) Once a work is framed, I clean the painting by removing threads and touch up the paint as needed. How's that for a "quick" explanation?
Tuesday, May 5, 2020
Magnolia I ~~ art quilt finish
This is my first attempt. I see so many flaws, but I've decided to let them go. If I move on, I can take the lessons with me to the next painting.
While they are glaring in real life, they don't look so hideous in a photo. Getting depth was a struggle, but making the petals look cupped and curled...it feels impossible. But I'm determined!
And then there are the leaves to contend with. I need to work on those. But there's something I did that I love and that was to add ghost leaves in the background. I might do things a little differently later, but this idea really works for me.
There's another coming. I like it even more than this first. But I took an informal poll on Facebook and the two are about even in preference, so maybe I should show this one a little more love. What are you thinking of this one? What constructive criticism can you offer? I want to improve and knowing what to work on makes that job a bit easier.
Tuesday, May 28, 2019
Another Cotton on Green ~~ Finished
They have many similarities, but one is not their sizes. This one is 15 X 18. Another difference is this little blossom on the upper left side of the canvas. It just found its way there with no argument from me. I just sew without thinking when I work on these. Sometimes some interesting things happen.
![]() |
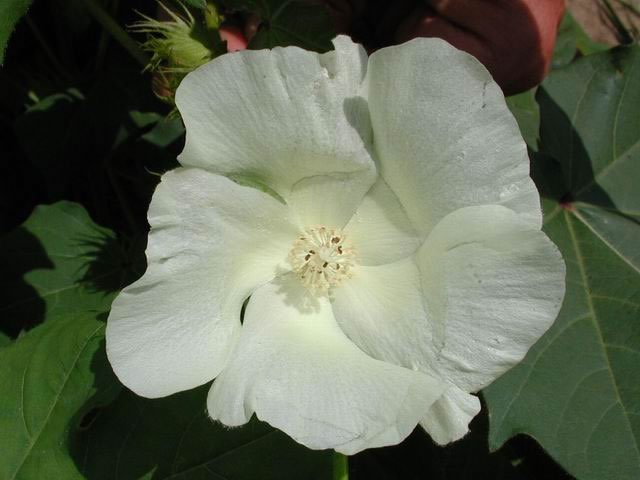
| Cotton bloom - Google images |
There are the right number of petals and it is white. Which, by the way, means it has not been self-pollinated because, once they are, they turn pink becoming a deeper pink as time goes by. In the next stage the flower dies and falls off leaving the green boll where the cotton grows. It is enclosed in green bracts which dry up and split open as the boll gets larger. Once the boll is fully mature, it will eventually fall off the stem. The seeds are in the fluffy cotton boll and are supposed to find their way to the ground, but most end up at the gin. But that's another post.
This cotton painting, then, has all the stages of the life-cycle of a cotton plant. Now that's serendipitous!
Saturday, May 25, 2019
Cotton on Green ~~ Finished?
I've worked on this piece and another one for several days. I had built the canvases quite some time ago and set them aside. At the time I had another, more pressing project. Oddly, I can't think of what that was. Nevertheless, I discovered the stack of canvas pieces and decided to load them on the long-arm before something else jumped in front of me. I have a few more canvases in the stack, but I want to see what the green background looks like.
I've been working on this series of cotton paintings and have eight or ten pieces. I haven't really named any of them, but I think I'll just number them. Luckily, I've written about them and can look up the order.
With this piece I was going for a cleaner, less is more, feeling. I'm not sure it's working. I keep thinking there's something missing. If you realize it, please let me know. I will definitely rework it. Otherwise, my plan is to show it to my artist friend and ask her opinion. She will be absolutely honest with me! And I believe strongly in the power of constructive criticism and learning from others.
Oh, I have to give credit to my sweet husband for building the frames! We've created a pretty good system: I sew the canvas in no particular size--just whatever works for me for the moment--then choose one when I'm ready to paint. Once the painting is complete and dry, I decide on the dimensions and ask for a frame. This one is 16" square. He builds it, I mount the painting, and voila! we have a painted quilt. Isn't he the best?!
Here's another picture so you can help me with a comment. I really want to figure out what I'm missing. Plus, some of the other painted quilts in this series.
You can find the posts for these paintings here: upper left blue, upper right neutral, lower left neutral, lower right blue.
Tuesday, November 27, 2018
Thanksgiving, school props, and painting (Adam's finish)
Lots going on in the Marcotte lot. Firstly, we celebrated Thanksgiving in grand fashion with two meals on Thursday. One for the parents at noon because Papa can't handle too many people. About three is his limit, so we cooked a second meal for the kids for supper. That also gives the boys a chance to visit with their wives' families, and they can drop in on their grandparents a few at a time. No one gets left out this way. It's lots more work, but worth the extra effort since it means making things easier for the aging parents and it helps the kids arrange holidays with their families. Of course, there's nothing left of the food. By now everything has been eaten as leftovers or put in the freezer.
Saturday and Sunday everyone just tried to rest and do a few things around the house. Adam and Richard had a special project going on. They built props for an upcoming school play. Can you guess which one? If you said A Charlie Brown Christmas, I'd have to agree because these are definitely CB props, but the real truth is that no one has really told me anything except to come see the cuteness. And, well, it is all kinds of cute.
Even better everything is made from left-over wood from a job or previous project. Even the mailbox is recycled. We replaced ours a few weeks ago and it had not found its way to the trashcan for pickup. Apparently we generate more trash in the fall, when we tend to purge the most, thanks to the cooler weather.Adam retrieved it from somewhere, banged the dents out (it had been run over by a tractor) and mounted it on a freestanding pole. Then he painted it a very bright yellow. The flag was missing, so he even built a wooden flag that moves up and down.
And now we're on to my current project. I'm working on another cotton painting. It's much like one in neutrals, beige and brown that I wrote about here. I also painted two in blues and wrote about those here.
I didn't like the beige one until it grew on me, then it became my favorite. I planned on painting a few using a green background but that hasn't happened. I supposed green needs to be higher on the list. At any rate this one is still a wip. The cotton bolls are still too dark and I need to add to the stalk. Cotton plants, you see, have many sharp limbs that do not bear unless the earliest flowers or seed pods are lost--as in eaten by a cow or destroyed by a storm. Then the plant is poised ready to put out new seed pods as soon as the early ones are lost.
It's interesting how much you can learn about a subject when you begin a "little" research just so your art is more authentic. Anyway, I'll show pics when the painting is complete and the frame is complete, and I pair the two. That may be a week or so, since my husband insists on making frames as though they will be seen from the front of the artwork. They are not but he's a perfectionist. And I am asking for a favor, so I guess we'll wait for a perfect frame.
In case you missed the pictures I took at IQS, all the posts are here:
Houston 2018 International Quilt Festival {page 1}
Houston 2018 International Quilt Festival {page 2}
Houston 2018 International Quilt Festival {page 3}
Houston 2018 International Quilt Festival {page 4}
Houston 2018 International Quilt Festival {page 5}
Friday, December 29, 2017
A Quick Recap of 2017
While reading some of my favorite blogs, I naturally stopped over at Kaja's Sew Slowly and Ann's Fret Not Yourself where I was reminded that it's time for AHIQ. I shared a post to Kaja and Ann's linky party since the last two things I created are both improv pieces. Kaja posted a recap of her quilting for the year, and I thought it such a good idea that I decided to do something like it. 2017 must have been my year of small things. I made ten quilts total: almost all are small. The few larger ones are AmandaJean's QAL and a couple of tee shirt quilts for customers.
It almost seems that I did more sewing than quilting. I made shorts for Rory's girls, a dress for myself, some quilted buckets, purses and bags, lots of quilted pillow covers, and several pieces of quilted art. I seem to be moving into the realm of art quilting with absolute abandon: I'm making what I like. I have now five pieces that are complete. Today I started a new one. This one will be painted like the cotton pieces. In fact, I may go back to cotton one more time. It's so much fun painting something close to my heart.
But I also want to capture some of the sights we saw on our travels. Nebraska haunts me. Reading Willa Cather like a madwoman this year probably adds to that sense of wonder.The Professor's House is my fifth book by Cather, though I didn't read them all this year!
Interestingly we've visited all of the states that provide settings for her books, so I have seen the corn and rye and wheat swaying in the plains' winds.
I have to do something with the haunting images of Cather's books and my experiences. I have yet to figure it out, but it must be done.
What awaiting plans haunt you in the sense that you can't let them go? Does your heart ache to think of them? How close are you to seeing them through?
Saturday, June 3, 2017
Stash Report for April and May
I have been distracted quite a bit lately, and I tend to quilt and read sort of in the same way--hyper-focused and unable to do anything else. Since school ended for the summer, I've read two books and in both cases I started and finished the book within 24 hours. That's just how I roll. Nevertheless, I have finished a few projects, though most of those were not quilt related.
|
Stash Report for
April/May 2017
|
||
|
Yards
|
Completed Projects
|
|
|
Used this month:
|
12.5
|
Tranquility (5 yds)
|
|
Added this month:
|
0
|
Summer dress (2.5 yds)
|
|
|
|
Cotton painting (1 yd)
|
|
Used in 2017:
|
27
|
Small finishes (1 yd)
|
|
Added in 2017:
|
.5 gift
|
Shorts (3 yds)
|
Goodness, one quilt in two months' time. I'll have to get working on improving that! Hopefully, I'll have something to report next month. How has your quilting been going lately? I certainly hope better than mine.
Thursday, April 27, 2017
Painted and Quilted and Framed...Oh My a Finish!
I'm not sure which should be listed first, since I both paint and quilt these pieces at the same time. In fact, sometimes I paint then quilt too soon. I can't seem to wait when there's something in my head wanting to get out. I've discovered that not waiting can be a bad thing: the needle picks up the paint and the thread dredges through that small, tiny little drop. You can't imagine how much paint can get carried from one stitch to another and another and another.
In other words, it makes a mess. Take the stitches out, right?
That requires touching the paint and spreading it around via the seam ripper. Bigger mess, that. Okay, so let it dry. Ha! removing stitches that have been stitched and painted on...let's just say it ain't easy and it sure ain't fun!

Honestly, the best option is to stay out of the paint while it's wet. And since it's rough on the needle once it's dry, it's probably a good idea to stay out of the paint altogether. Such a difficult idea to stick with.
But handling the paint and the needle just right means creating a three-dimensional effect, which I really like. On this painting, the largest cotton boll has a high relief that protrudes from the background plane, but it also has a sunken relief caused by the quilting process.
My goal is to learn more about how to create a variety of reliefs and to learn how light plays on the piece as a result of the quilting and relief work.
I experimented with the quilting by creating interlocking circles and then echo quilting the shapes that these circles created. I also experimented by playing with size. This one is 12" X 20" and my sweet husband made the frame for me.
At first I didn't like the piece. I thought the background and the painted sections blended too much. But now that it's finished, it seems to be growing on me. I honestly believe that seeing through my camera lens is what changed my mind. Somehow it has a different look and mood.
Definitely it has improved my mood!
Thanks for visiting. Please make suggestions and leave comments. I'd love to know what you think.