

Several people have asked me how I create these since it's an odd way to paint. So here's the short version. Start with a subject that can be isolated easily, so it almost has to be a physical object. Create a background using fabric (scraps work nicely). I think of it as making a quilt top.

After loading the quilt sandwich onto the longarm, I plan and prep the painting area with gesso. Because you aren't painting the entire panel, plan carefully. I pencil in and quilt the outline of the subject.

Now we're ready to move on to painting. I alternate between painting and quilting. I've discovered that one informs the other, and I tend to work improvisationally.
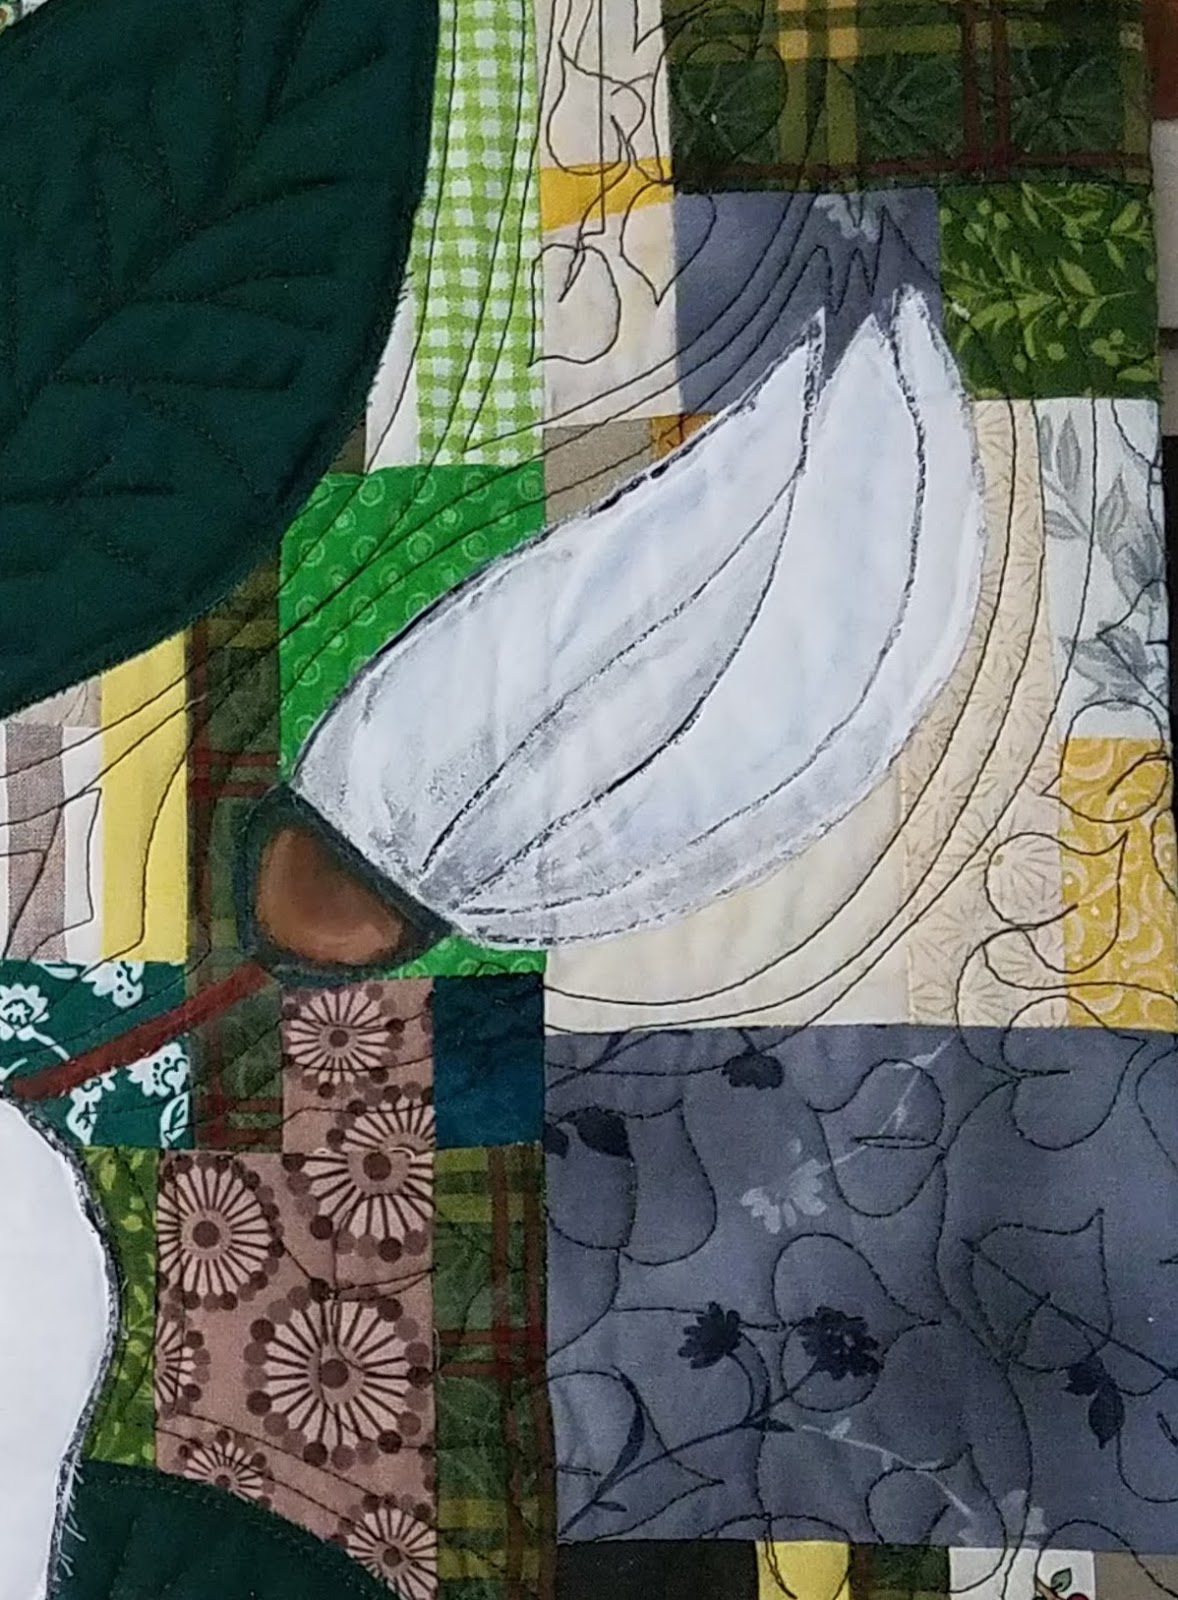
An example of that improvisational work is this bud in the upper right corner. I decided to include it as I was painting the large magnolia and wanted it to be a secondary element, almost not noticeable. While I was working on it, I realized that the green stem receded into the background, so I repainted it in lighter browns that contrast more with the greens, yellows and browns of the background.

And just like that, weeks later there's a painting ready for framing. Richard is wonderful about making frames, so as soon as trim and measure the work, he builds a frame--to 1/16 of an inch. (As if I'm going to manage that math!) Once a work is framed, I clean the painting by removing threads and touch up the paint as needed. How's that for a "quick" explanation?

1 comment:
It is a fascinating technique. Love the result.
Post a Comment