Showing posts with label garment. Show all posts

Tuesday, July 31, 2018

Zipper repairs -- a tutorial

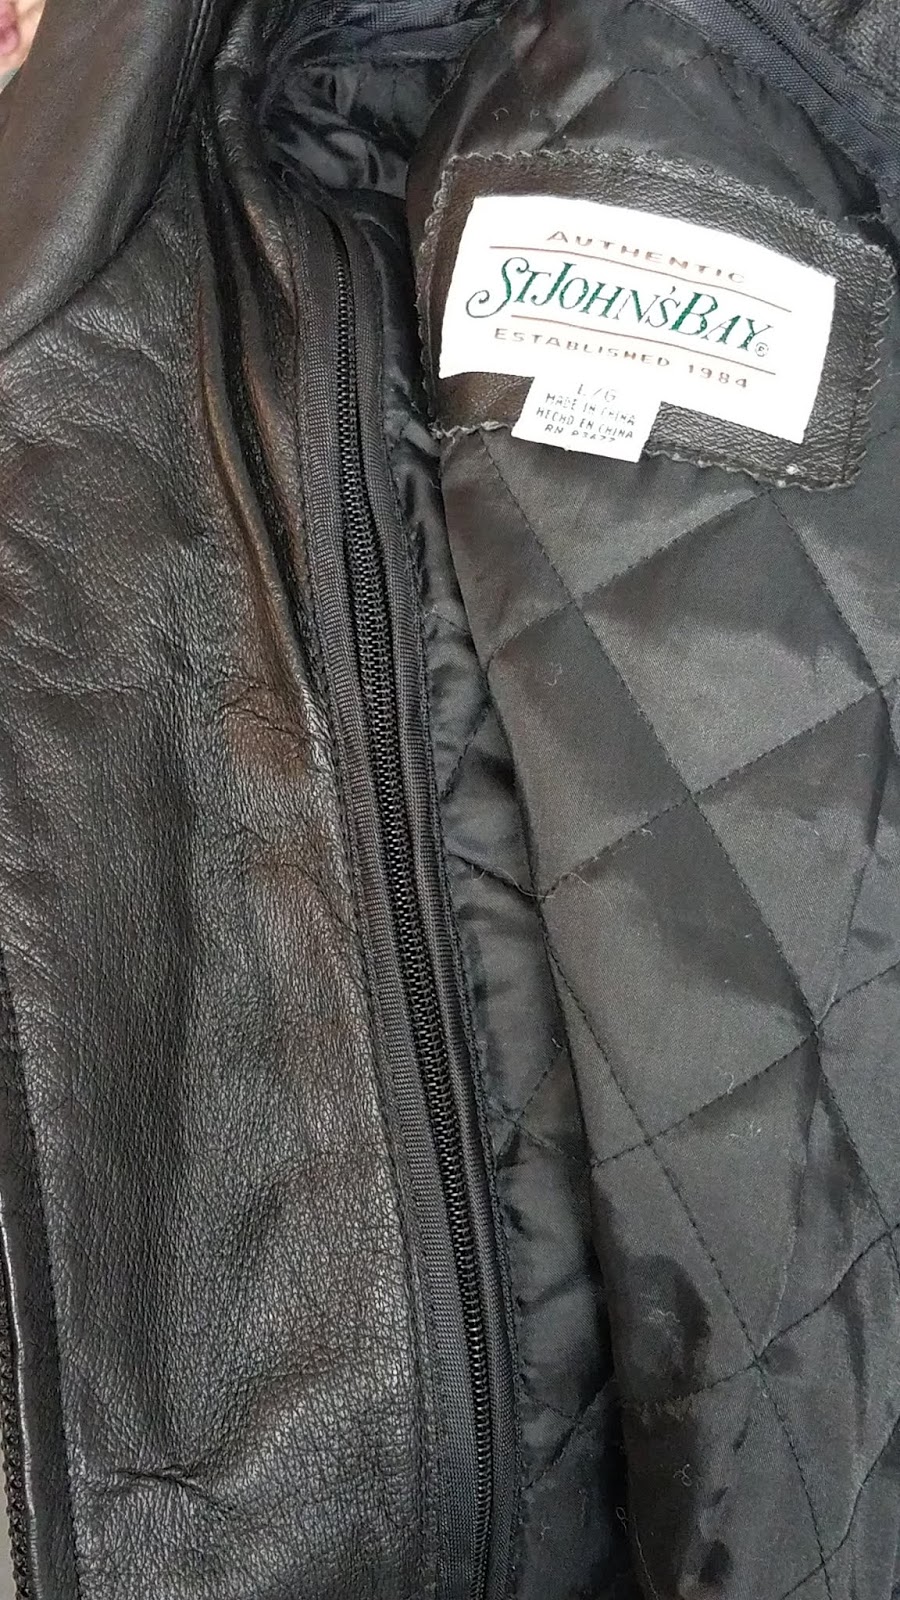
I recently repaired this black leather coat that for our priest. Apparently while trying to unzip the inner lining, he caught the zipper head in the fabric and managed to pull apart the zipper tape and open the zipper head. 

In the end all I was able to do was to move the zipper head back to the beginning of the zipper then tighten it with a pair of pliers. The tape can't be repaired without interfering with the workings of the zipper. Luckily the area is about three inches from the closing end of the zipper, so he can still use the coat with the lining. 

 Repairing a zipper with pliers is easier than replacing one but it takes a gentle touch while squeezing the pliers in the right place. Tighten too much and the zipper teeth can't run through. Not enough and the zipper teeth won't close. And the zipper parts are small so they break very easily.

I tighten the zipper head in two places. In this case I tightened the slider window (see upper view). First I press the top board and bottom board together very lightly. (see the bottom view)

https://www.textileschool.com/261/
zipper-fasteners-on-garments/
Then I squeeze the two sides of the slider toward the center. By tightening the zipper head this way there is less chance of  breaking one of the parts. 

Zippers are tough but they take a real beating, especially as they get older. 

One way to help metal zippers slide smoothly and prevent them from getting sticky or rough, is to drip a little melted candle wax into the slider from the front, or throat. Be careful to avoid getting hot wax on the fabric. The wax coats the zipper teeth as it moves up and down. Add wax as needed to completely coat the teeth. Thick bees wax works best but I've used plain candle wax on my jeans zipper. 

Both zippers on the
jacket, notice how much
larger the outside zipper is.
Nylon zippers don't rust or get sticky, but they do like to get caught in fabric or loose thread. When this happens be extra careful not to jerk the slider. Instead try sliding it backward so that it moves along the same route of the fabric that is caught in it. 

If necessary, cut the fabric away and slowly pull it out a thread or two at a time. Yes, you have to weigh which is going to cost less in repairs, usually zippers are more difficult and time consuming. 

I cut loose threads as closely to the back of the slider as possible and then pull it out from the front of the zipper head. Yes, one thread at a time.

https://www.textileschool.com/261/
zipper-fasteners-on-garments/
Probably the best thing to do to save yourself from having to replace zippers, is to teach your children how to use them. Zippers need a straight, clear path. (I used a train metaphor with my boys.) Every curve and obstacle can derail the slider. And it can jump off the track more easily than children realize. It's possible to open the zipper head and feed the teeth back in then close it up again. However, that is a very delicate job so, if you find yourself having to do it, take your time, work carefully, and open or close the zipper head in minute amounts.

All opinions and instructions are mine. For more information on zippers, garments and other textiles, visit Textile School
(Warning: You may not be able to walk away.)

Friday, June 8, 2018

Kiddo Fast Finishes

 One afternoon this week I had Milly and decided that she needed a new dress. When she goes home, oftentimes she's wearing the dress or other nice outfit that we managed to hold on to. It's easy to lose things: shoes, bottles, clothes, sippy cups and so on. 


Front of dress showing the sherbet bodice
It's sometimes easier to just figure it out as we go. This particular time I decided to sew a little dress and matching shorts. As I've been cleaning and organizing fabric, I've run across a few pieces that I immediately have a project for. I pulled out this pretty plaid and set it aside thinking it would be just big enough for shorts. 
Back of dress

Well, it was even bigger than that. I was able to piece together enough for the dress by adding a bodice from a coordinating sherbet orange. The sherbet piece was big enough for the shorts and the interfacing for the dress. In other words, I squeezed all I could out of the plaid then squeezed the orange. There are only small scraps of the plaid left. 
Asked to show me her shorts,
she did exactly that

Milly does not like to change clothes. When she saw me coming with the dress, she started fussing, but I got a length measurement anyway. A good thing since it was about four inches too long. In no time I had a little dress and matching shorts. 

After a particularly wet diaper, she got to wear the outfit. I got a few pictures of her showing off in her new dress. And I could not resist this little collage of her playing. 

Since the outfit was a fast finish, I decided to sew a couple of pair of shorts for the bigger girls. I used what I thought was the pattern from last summer, but that must have been for Jolie. These two are way too big. So I'll have to find someone about two sizes bigger to gift them to.


Nevertheless, these are really cute. And while the plaids on the dress are a mess, these plaids are perfect. Yes, there is a seam in the middle of those short 


So all that happened on Tuesday, maybe? Then yesterday I put it in my head that she is so cute she deserves another outfit. I even got to wash it before putting it on her.


How sweet is this smile?


Am I right? How is it possible to love a cutie pie so much?


I found this cute garden fabric while trying to organize fabricsagainbut decided that it's too cute and the opportunity too good to past up. So I delayed the fabric organizing by an hour or so.


Well worth my time, don't you agree?


Link Ups!

Thursday, May 10, 2018

Milly's Bubble Romper ~~ A Finish!

I decided this morning that I would work on one small project and try to get a finish. And goodness gracious, I did it! I've been wanting to make a little outfit for Milly, but I had a particular pattern in mind. An hour of searching in the studio did not unearth that pattern. 

However, I did find a bubble romper pattern which I like very much. It's a New Look pattern by Simplicity that is no longer in print. I bought it almost 20 years ago and used it to make Dusti a couple of outfits. It seems appropriate to use the same pattern for Dusti's little one. 


It also looked like a quick, easy project. It is. But it had been a while since I've used this particular pattern. The back closure gave me fits. I finally managed to create a placket. Not necessarily the one in the directions, but a closure none-the-less.


And Miss Prissy was in a cranky mood, until she finally fell asleep--after one dirty diaper, a bottle of apple juice, a rocker and a good ten minutes. Whew! Getting her down when she is over tired is a job for someone younger than I!


Anyway, while she napped, I sewed like a mad woman. My inspiration was this lime green butterfly print. I had to place the pattern pieces with extra care because I was using an oddly-shaped, scrap fabric. There was just enough.


I thought I'd get away without the directions, but eventually I was forced to pull out the Bernina instructions. I couldn't remember how to shift the button hole stitch to the next section. I also had to practice button holes on scraps because, well truthfully, it's been so long I didn't feel terribly confident. And though they will hold, they won't look great doing so. I guess I'll need to practice a bit more.

Choosing buttons also took a little time. There are so many choices. I auditioned two sets but eventually chose the lime green. 

I insisted that we try the outfit before her mom took her home. It's too big. But not by much, so I think I can cut it down and get the right size without too much struggle.

She is growing so fast that she'll probably out-grow it before the summer ends. I think I'll make one without the piping. That slowed me down more than I expected. I have a feeling that there are a few more shortcuts that I can make. That will mean I can make several of these that we can use for play clothes throughout the summer. 

And that's my finish for the day and the week. 


I'll Be Linking Up With These!
Busy Hands Quilts (Finished or Not Friday)
Confessions of a Fabric Addict (Can I get a Whoop! Whoop!)

Wednesday, December 13, 2017

Pin It Weekly #225

Are you ready for Christmas? I sent a text to my sisters asking who had won the game that we all play at this time of year: the-get-it-all-done game. It turns out that everyone still has time to win: no one is finished. In fact, by listing all of the things we have done, we began to realize just how much is left to do. Ah, the holidays! 

Holiday Embroidered Christmas Table Runner | christmas | Pinterest | Christmas Runner, Runners and Christmas Table Runners

Very often, when I am looking at Pinterest, I begin with something I'm interested in, such as this gorgeous table runner. But then.
1880's Dresses | All The Pretty Dresses: 1880's Sage Green Bustle Dress

I see something else that is interesting and that leads to something like this odd little garment. Whale bones, padding, ribbons. Who needs all this? And for what!?!


18th century accessories - Google Search

And that's about the time that I fall into the rabbit hole. Getting out can be, well, let's just say it requires a great effort.

Ca.1865 hoopskirt. Palais Galliera.

Danielle Jordan - Costume Technologist | DRAPING & STITCHING

Stays (corset) and panniers (hoops), English, 1770-1790. V Museum.Ivory panniers More


Pantaloons - undergarment worn by women under dresses. Before this century women wore nothing under their garments. However, during this time women's dresses became a lot lighter and sheer, calling for a garment like so.Image result for different types of crinoline


Medium Victorian Bustle Pad Available In White by SallyCDesignsDIY Side panniers tutorial by temps de elegance in French and English.

Image result for Maestro Classical english costume

Imagine wearing any one of these accessories. 
I can barely stand a bra and panties. The poor women who wore all these extra undergarments!


The purpose of all these extra wires, whale bone, and fabric? To push the breasts up, squeeze the belly in, and give the hips extra padding. Ha! I can't imagine wanting extra padding anywhere or for any reason. Even in a rabbit hole. Which one do you think is the oddest of the undies?

Tuesday, May 23, 2017

New pattern and dress ~~ finished

Last Sunday I wore a new dress to mass. It's one I'd started a few weeks ago and put aside because, well, there were too many other things going on. I started with several yards of this linen that I bought along with an entire box of linen fabrics. 

Most of the pieces are about three yards. They are also pastel. I didn't buy them for garment sewing, though. I was thinking more of using them for quilt backings. 

I happened to run across this piece and decided it has enough color and design to use for a garment.

I could not find a pattern in my extensive collection. Imagine that. My clothing tastes have not changed...my body has. I still love the little sheath dresses of my 20s and 30s; I just can't fit into them.


That said, I decided to make something closer to a comfy dress with a few gathers that would allow airflow. It gets hot in Louisiana. I married two patterns, adjusted the size, and made the dress long so that I could decide on length after seeing how it looked on my body. I liked the end result, so I'm especially happy that I took notes and can use the pattern again.


Front views


All of these pictures were taken before I hemmed the dress sleeves and bottom. I ended up cutting eight inches off the bottom so that the hem just touches the top of my knees. 


Back view
Obviously I also did not iron before taking pictures. Sorry about that. I peeled it off so quickly after getting back from mass that I didn't even think of taking a picture with me in it. Not surprising for me, I hemmed it Sunday morning before we started getting dressed for mass. 

My only concern is that I'll have to watch for rips. The linen has a loose weave that tends to want to pull out of the seams. I discovered a couple of small rips in the underarm/bust area that needed quick repairs. So after the hemming I added another seam on top of overlock stitches to create flat fell seams in every place that might cause some pulling. 

When I took the dress off, I looked carefully under and around the arms, in the bust and hip areas, even along the back seam and nothing had pulled apart or ripped. I'll keep checking every time I wear the dress just to be safe, but I think it will be okay. Chances are I'll want to wear this one often--it's airy and comfortable! 

Have you sewn with linen that wanted to pull out of its seams? What did you do to repair and insure that the seams would hold?


Linking up with

Monday, October 17, 2016

Tutorial: Sew a Hook and Eye on a Garment

Over the weekend I refashioned a dress into a skirt for my daughter-in-law, Jenny. She loved everything about the dress except the feel of the bodice. You can read about that alteration here. While sewing on the hook and eye, which keeps the skirt from putting pressure on the zipper, I decided to write down the steps. It's actually quite easy to hand sew this tiny notion onto a garment, so if you find that one of the pieces is loose, get a needle and thread and stitch it back on before it's lost forever. 

Hook and eye parts are easy to find in the sewing section of any major store. They used to come sewn onto cards (like buttons) but now come in these handy little plastic container. You can usually find them in a silver or chrome-like color and black.


Step 1
1. The first step is choosing your pieces. Pick the color that best coordinates with your garment and take out a hook and an eye. Thread two 18" lengths of coordinating thread onto one needle. (see photo Step 1)


Step 2
2. Tie all four ends into one knot and cut off the excess thread below the knot. Now as you sew, you will be sewing four threads in each stitch. This means fewer stitches, which will be heaven-sent later.


Step 3 (right side of garment)

3. Look at the zipper from the right side (or outside) of the garment. The hook goes on the left side and the eye will go on the right. Mark the left side with the needle and turn the garment so that you can work from the inside.


Step 4 (inside of garment)

4. Now you are ready to begin sewing. Slip the needle into the garment about 1/2" from the edge. (In photo 4 the needle is pointing to the spot.) Pull the thread through and pop the knot into the waistband. 


Step 5


5. Using the little circles at the bottom of the hook, slide the hook onto the needle so that the opening is facing the inside of the garment. Take a second stitch close to where the hook will be and run the needle up through the circle again.
Step 6


6. Pull the thread tight. Take two more stitches very close to the first one, always starting in the fabric outside of the circle and sticking the needle through the circle. This will secure half of the hook.


Step 7
7. To move to the opposite circle, take two stitches in the space between the circles. It's easiest to make these stitches if the hook can move and you break the stitch into tiny steps: needle goes through circle, needle goes into and out of fabric, pull taut. Do the same with the second stitch.


Step 8
 8. Sew the second circle down by making three stitches. Knot your thread by running the needle through the loop in the thread before pulling it taut. Finally bury the thread ends by slipping the needle into the fabric and out about 1/2 inch away and cut.

Step 9
 9. Now you're ready to sew the loop part on the opposite side of the waistband. Make a knot at the end of the thread and pop it into the fabric just as in #4. Try to line up the eye directly across from the hook. 


Step 10


10. Sew three stitches in the circle part of the eye, then jump to the other circle making two stitches in the center (see step 7)


Step 11


11. Allow the eye to wiggle some as you sew and break down the stitch into tiny parts (see step 7). Make a knot and bury your thread (see steps 7 and 8).
Step 12


12. All finished. This photo is from the inside of the skirt, showing the hook and eye closed. 


Step 13

13. The finished garment shown from the outside of the skirt. Notice that the hand stitches do not show and the zipper almost reaches to the end. The hook and eye will take stress off the zipper end so that it doesn't slide open or break.


Did you find this tutorial helpful? How can I improve it?