Showing posts with label preserving. Show all posts

Friday, June 21, 2013

Tomatoes and onion and peppers and.......corn?

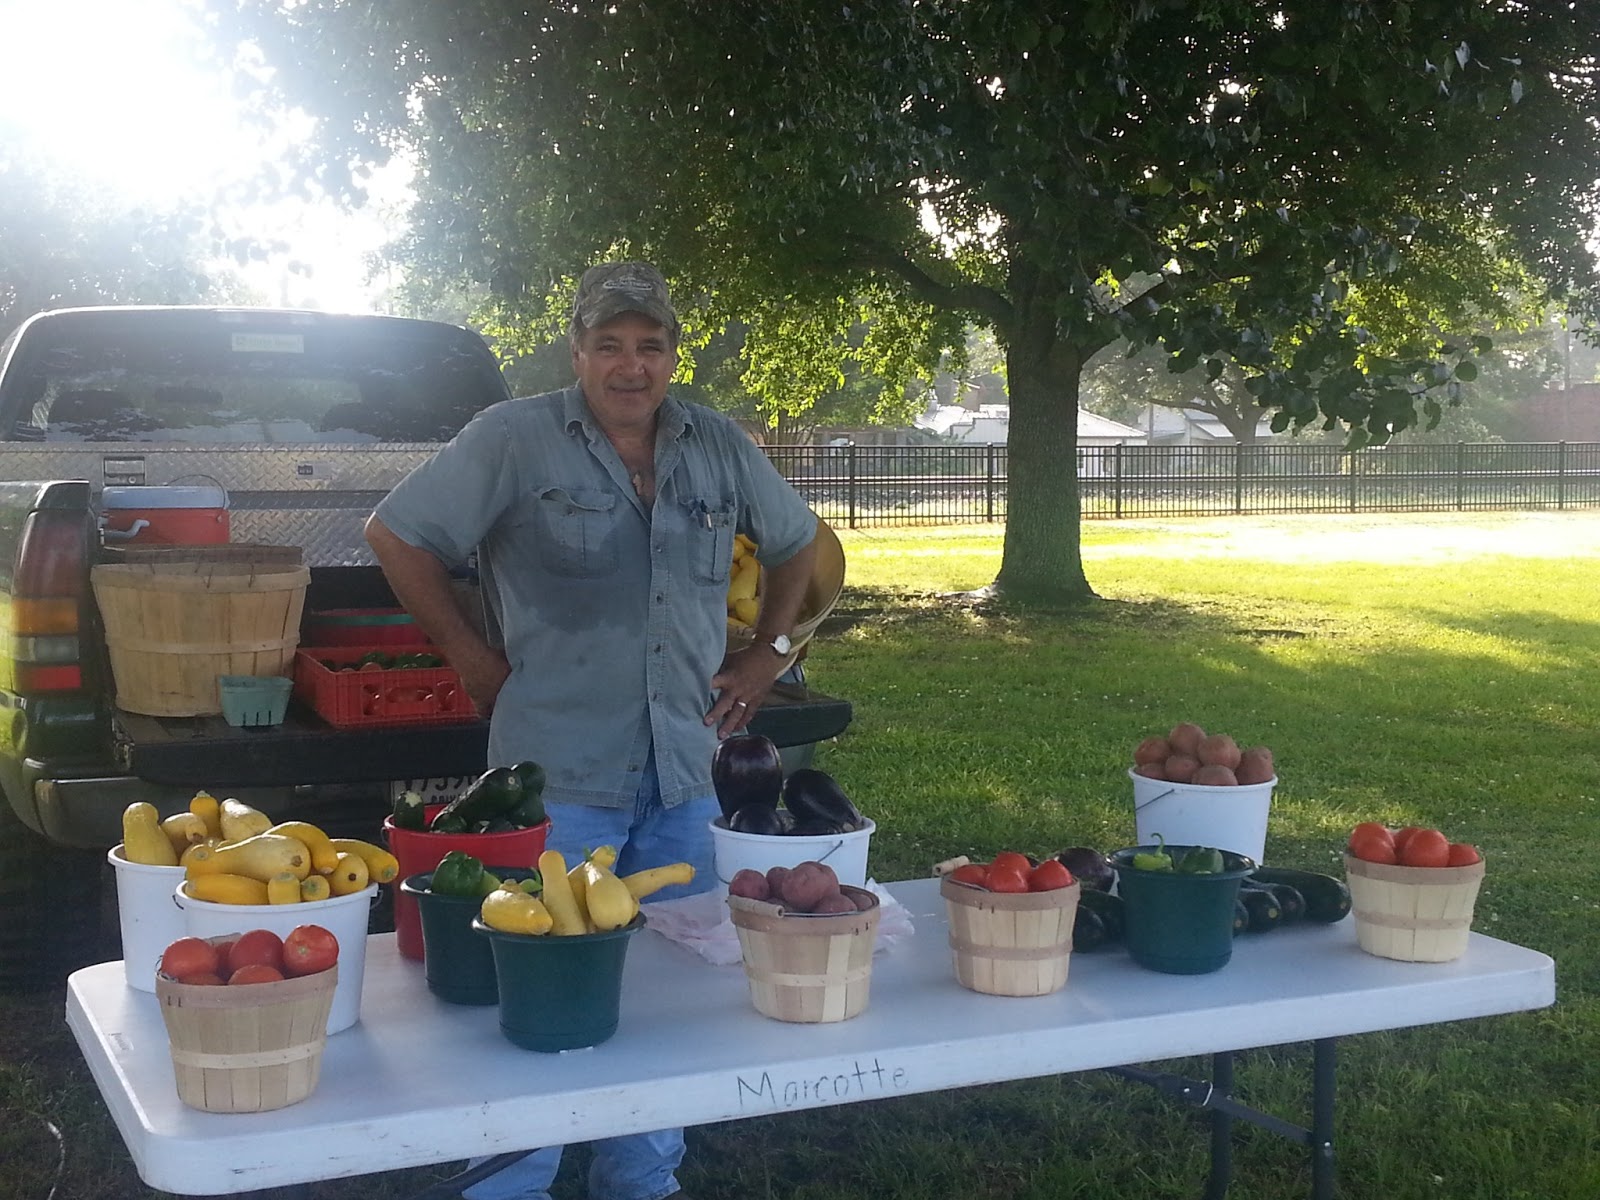
Yes, indeed!  Corn!  Our garden is going insane.  Well, really it's supposed to be producing way too much for us.....Richard is selling it at the local farmer's market.  But goodness, we can't eat all the extras.  After he picks the produce, he culls out the items with blemishes.  Those are mine!  


I'm okay with it because I know the blemishes are not harmful and, because I hate for any food to go to waste, I've been trying to use up the culls.  I can't eat cook it up fast enough!


I can put it up though.  I've canned 25 pints of salsa.  There are two batches: one is kind of plain, the other has corn added.  I had that idea when Rich came in and said that he would pull corn to take to his parents.    


Isn't he wonderful?  He pulled and shucked the corn for us.  Cleaning didn't take long and then it was quick work to cut it into the tomato recipe.  

 I must be getting better at this chore: every one of the lids sealed.


I love the sound of that little pop!  If the cooked salsa tastes anything like the raw version, I'll love it as well!


Since corn is one of my favorite veggies, I'm excited to try the corn version, but they both tasted pretty good!


What are you up to during these hot summer days?

Saturday, October 13, 2012

Vintage Baby Quilt

Not so long ago a colleague brought a darling little baby quilt to me at the request of his mom.  During the summer we discussed the possibility of my repairing it for her.  After determining that her main  goal is to salvage it so that it can be used when her grandchildren visit, I suggested that we add a new backing and stipple the entire quilt on the long arm.  


I was concerned that doing so would devalue the vintage quilt, which her grandmother-in-law made many years ago.  She assured me that the important thing is that the grandchildren be able to nap under the quilt and that it last as long as possible.  She's a true believer that using quilts is a way of honoring the maker.


I agree with her, but I also like to preserve quilts for future generations and for study.  This cute quilt had been hand appliqued and hand quilted, so I wanted very much to allow the hand work to show despite the machine quilting.  

I chose to use Superior Threads' Bottom Line in light gray for both the bobbin thread and the top thread because it blends so beautifully with the off-white aged top and barely shows on the gingham appliques even though they are different pastel colors.

Unfortunately, some of the appliques are quite tattered.  I decided not to replace them because I want this to still be the grandmother's quilt and, especially, her handwork.  To compensate for these appliques, I  stippled all the appliques in a small stipple design after going around the outside edges.

The tattered appliques I treated exactly the same as those in good condition except that I was extra careful in working a tiny stipple design in the areas that are already torn and frayed.  My hope is that the extra stitches will hold the applique pieces in place for a few years longer than if they were just stitched down normally.


The only problem that this may have caused is that the quilt is a bit more stiff than I had hoped it would be, but once it's been washed a few times, it should be soft and cuddly again.

The appliques are stitched down in a blanket stitch with black embroidery thread.  Some of the details of the little animals are also embroidered with the black thread.  

Using a stipple stitch allowed me to ignore the details of the embroidery and just tack the layers together.  This leaves the embroidery floss to do its intended job and highlight the animals.

Now that the quilt is complete, I am satisfied that it will last for several more years.  The new backing and extra layer of batting helped to stabilize the top and applique.  But most importantly, the grandmother's work shines through and her entire quilt is still intact. 

The maker turned the backing to the front for her binding, which means it's only one layer of fabric and had small holes in a few spots.  To resolve this problem, I decided to use her method but instead of turning the new backing to the front of the quilt where it would show, I turned it to the middle tucked it behind the original binding.  

I stitched very close to the edge then stippled the binding on my Bernina using the BSR (stitch regulator).  This way I could add extra stitches where the holes are, the stippling matches throughout the quilt, and the binding still shows on the top of the quilt.  That the binding shows is extra important since the yellow fabric for the binding is also the fabric in the sashing.  

I don't have photos of the whole quilt because it won't be delivered till Monday and I don't want to show it until then.  But I think there are enough photos here for you to see how darling the little quilt is.  

I've decided not to put a label on this one.  It's not my quilt and while I had a part in helping the family to make sure it will be around for a while longer, I want my part to be forgotten.  Would you include a label or leave that to the family?  


Did you notice the mistake in the last photo?  Look at the whale.  It's making a flip, I guess, because it's upside down!  How wonderful is that?  To have a vintage quilt from their grandmother and for it to be so personal, handmade, and yes, signed in her hand.  Unfortunately, her signature had to be covered since it's on the back, but I will tell the owner where it is, in case she wants to include that info with the quilt.  

Friday, March 30, 2012

Spring Break!

and thank goodness, because I was getting tired.  We've been busy with state testing, and field testing, which is pretty serious.  Add to that the fact that I'm also getting ready for a principals' pow wow in the library.  It's to be held there for the purpose of showing off the work we've done this year, so I feel compelled to make the place shine!  But for now, some time off, yay!  


I started my day late (I did need the rest) but then got right to the 28 pints of strawberry preserves that were waiting for my attention.  I told you in an earlier post that the strawberries are driving us crazy.  Well, they continue to produce, more in fact.  Cooking and stirring, washing jars, filling and sealing all take about two hours. See the boxes in the background?  Yes, they are full.  I counted over 70 pints of strawberry preserves....all from our garden!

That done, the puppies and I took a walk in the yard.  Mostly I chased Candy.  She loves to run away from the cat and from me.  She goes farther and farther playing with the cat, and when I call or go after her, she runs even farther.  By the time I managed to get around her, we were at the lake.  


I was a bit put out, but on the way back, I noticed the catabla trees are in bloom.  That put me in a better mood!   I love the look of the flowers on the ground, like popcorn tossed out for the birds.  The flowers are snow white except for a touch of purple in their throats.  Imagine clusters of  white orchids, and you can envision them in the trees.


It helped to get over my aggravation by coming in and fixing a plate of very light pancakes, smothered in fresh strawberry sauce!


Then to the studio for an afternoon of play!  But my sewing endeavors will have to wait for another day......the grandkids have a movie started up and are vying for my attention.
Happy quilting,
Mary

Thursday, June 16, 2011

Tomatoed

This morning my in-laws did a wonderful thing for us.  They came really early, really really early and picked vegetables for us.  Peas, tomatoes, cucumbers, peppers the whole bit.  I had picked the okra yesterday afternoon late, so that's the only thing they didn't do.  Then, get this, wonderful folks that they are they took the peas home and shelled them.  Then, they delivered the peas to us, and mom-in-law helped me to clean and cut the okra.  We bagged the okra and peas and put them in the freezer, but that still left peppers and tomatoes.  No, I mean TOMATOES.   A bushel maybe.  Lots.  No really, lots and lots.


What to do with lots and lots of tomatoes?  Here's my deal: I canned them.  Well, I canned what I could.  First I had to peel them because the peelings are definitely not something I care for after cooking.  To do that I boiled water in a medium sized pan and dropped 'maters in.  A few seconds later they come out and the peelings slide off.  Core and quarter them and drop into a bowl for later when everything's peeled.  After that I chopped them using a cutter that my parents used to cut okra and green onions back when they were still truck farming.

The photo here shows a side view of the cutter.  There's a handle in the upper left corner that, when pulled down, moves the "fingers" down and forward.  The veggies are put right on top the blades (the dark lines in the center of the picture) and the fingers force the veggies through the blades, effectively slicing them into one-quarter inch pieces.  Tomatoes zip through in nothing flat.  So cutting a big bowl of peeled tomatoes doesn't take long.  Then I add onions, peppers and garlic and stirred it all together.  Stuff into hot pints add 1/2 teaspoon of margarita salt (I happen to have that already) and fill with the juice from the sliced tomatoes.  Put hot lids and rings on and drop into a hot water bath.  They need to be in the boiling water for about 10 minutes.  Then remove to a towel on the counter to cool and look at what beautiful seasoning we have.

Twelve pints of seasoning tomatoes, ready for gravies, stews, spaghetti sauce, okra gumbo, soups, and so much more.  There's just enough salt to help preserve them and add to the flavoring without having to worry about high blood pressure.  The onions, peppers and garlic will certainly enhance anything that the tomatoes will go into.  We could eat them as they are, sort of like salsa, but I really canned these to use in my cooking.  It's a wonderful secret ingredient and because they are in jars, I can use any amount and store the rest in the fridge.  In the past I have frozen the seasoning in ice trays then popped them into zipper bags to use, but there's no space in the freezer for them and I really like the fresh flavor of canned veggies.


How about this: all twelve jars sealed!  Yea!  When I canned the pickles and relish, two pints didn't seal.  So this is an improvement.

Check out this great pot that my dad gave me a while back.  It's my mom's old pressure cooker. I bet it's filled with stories.  My mom canned for a family of ten using this pot.  It's so old that it uses the old system of nuts and bolts to hold the lid down.  To open it when the lid is closed tight, I have to pry the lid off with a hammer.  Tapping lightly on the part that the bolts fit into also works but either system takes time and muscle.  Oh, let's not forget the muscle required to lift that heavy pot.  I will not attempt to move it unless it's completely empty.  That means hauling water in pitchers to fill it.  But, it's perfectly okay.  Using it reminds me of how hard my mom was willing to work to help provide for us.


How about you?  Have you canned any fruits or veggies?  Tell us about it.  Don't forget that leaving a comment will also give you an extra chance to win the  anniversary giveaway!  Read about it here.  The winner gets both giveaway gifts: the fleur de lis appliques and the $44 Etsy shop giveaway.  The winner will be chosen on June 22.