
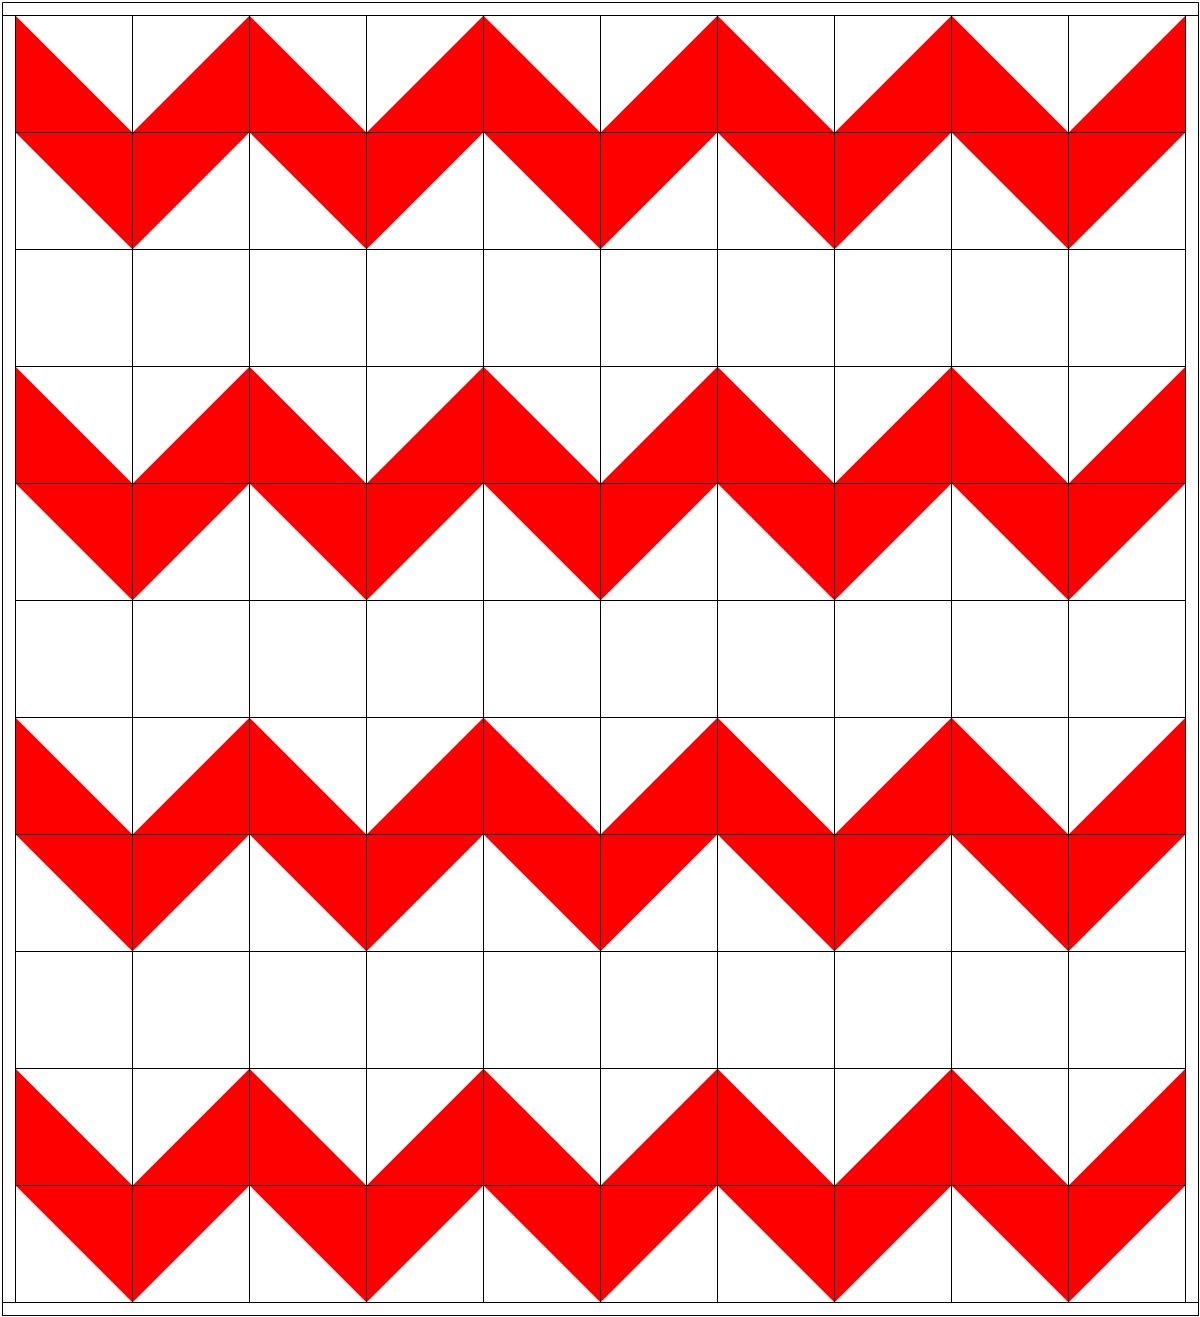
 I mentioned earlier this week that my sister wants a red and white quilt. After playing in EQ7, I sent her my idea for a chevron quilt. Chevrons are popular and trendy, which may have helped to sell the idea. She decided to go for it, so yesterday I put away the project I was working on and pulled out some red fabrics.
 Since the chevrons are made from large half-square triangles, I decided to piece the red halves. I pulled out all of the red scraps and strips that I had, but those weren't going to be enough for this queen-sized quilt.
Piecing the red pieces takes quite a bit of time but the end result is very pretty. I like that the white is a solid piece and am hoping that the red takes center stage because my plan includes making the white wider than the red.
But we'll see how that works.

In the meantime, I've made quite a few blocks, but it's still too early to count them.
Here's a quick tutorial on making half-square triangle blocks.
Begin with two squares of any size. My squares are 10 inches by 10 inches. Draw a diagonal line on the lighter square from corner to corner. I used a #2 lead pencil but you certainly may use a quilt pencil or pen.

Stitch just to one side of your line using a 1/4 inch foot on your machine. If you don't have this specialty foot, you can draw the lines onto the fabric and follow the drawn lines. You'll need one on each side of the first diagonal line.

Strip piecing is very easy using this technique: just stitch all of the left side lines without cutting your thread. Then turn the blocks and stitch the other side again without cutting the thread. Once you're done stitching both sides, you are ready to cut the block in half.

I use my rotary cutter by placing the ruler right on the pencil line (from corner to corner) and cut down the center.

The next step is to press the block open. I press the seams toward the darker fabric because the red will show through the white and I want a clean look.

Just a few blocks and already you can see the chevron pattern coming together.

Here's one final tip: Although I haven't done so yet, you'll want to trim the corners. I trimmed the corner on the left side in this photo but not on the right. You can see how much cleaner the trimmed corner looks. It will also reduce bulk in the finished quilt.

Please let me know if this tutorial is helpful or useful. I'd love to hear from you and get some feedback.
Happy Quilting,
Mary
No comments:
Post a Comment