

Question 1 is from Kelly: Do you have specific colors? Indeed, neutrals (gray, khaki, beige) for the nine-patch and bright, loud colors for the cross.
Question 2: What is the finished size of the block? I'm not really particular about this. As long as the squares are within the 5-6½ inch range, the blocks will be big enough for the quilt in my head. My goal is to make several small blocks to add to the larger ones I'll get from the bee.
WHAT YOU'LL NEED:
9 squares of neutral colored fabric any size between 5 and 6½ inch
2 strips of bright, colorful fabric at least 1½ in. X 16½ in.
NOTE: if you choose to use 6½ inch squares, the strips will need to be closer to 20 inches

To help everyone out, I thought I'd add a few pictures and explanations of what I did to create the first block. I cut and sewed 9 squares (5 in. x 5 in.) into a nine patch (3 across and 3 down).
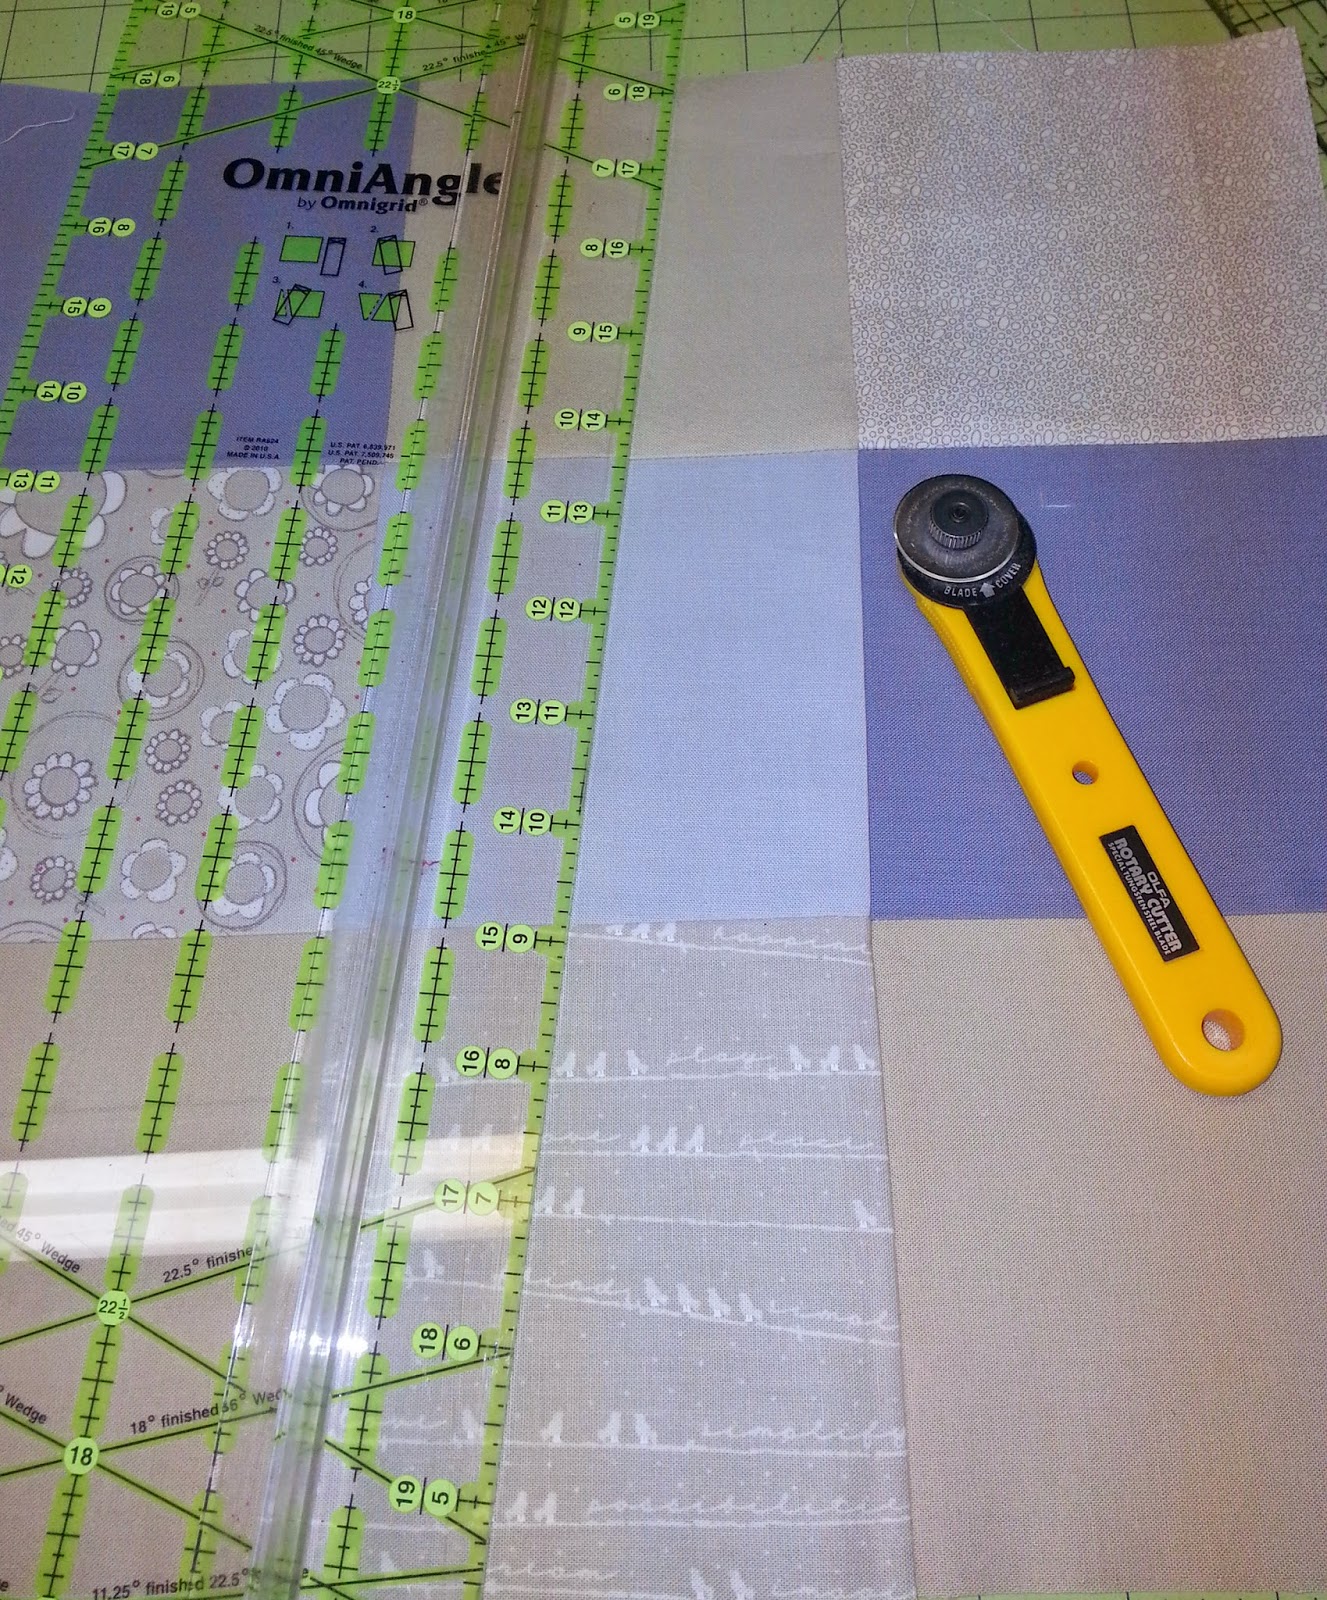
Once I pressed the nine patch really well so the seams lay flat, I used my ruler and rotary cutter to make a vertical cut (top to bottom). The cut is angled just a little, but that doesn't matter. However, it is important to avoid getting too close to the edge of the center blocks: you do not want to have to deal with those seams when you're sewing the strips in.

I cut a strip of very colorful, bright fabric to sew into the cut. This strip needs to be at least 1½ inches wide and an inch longer than the block. In my case, the strip needed to be 1½ in. X 16½ in.

First sew the strip onto one side of the block. Know that when you place the second half of the block on the strip, the seams will not match up if there is even a slight angle in the cut.

Here's the way that I was able to line up the seams: place both pieces down on the work table face side up. Put a straight pin in to the strip so that the head and the point both land right on the seam. Do the same with the second seam. The pins will work as your registration marks.

Now turn the side with the strip over RST on the second side of the block. Line up the pin with the seam of the block. Here I've moved the top piece over just a bit so you can see what I mean.

I put two pins in for each seam...one above and one below.

The end result of the first strip--it could be better, but I decided to push on and stitch in the second. I used the same method, except I sewed just a little slower in attempt to get everything straighter.

It worked. I'm pretty happy with the outcome. I'll work on a few more blocks in the next couple of weeks. I'd like to have about three or four smaller sized blocks to go with the ones I'll be getting from my bee friends.

2 comments:
This is going to make a cool quilt, Mary, and I love the fabrics you show at the bottom; I'm sure at least one of them would work really well. Also, you have changed your header - the new one looks great.
Hey - I really love the floral print spliced into these! It adds a very nice pop that's going to look terrific.
Post a Comment